
Free Online Recipe Design Tool — Build Cookbooks Solo or Together
Welcome to The Book Printing Company’s free recipe design tool. Whether you’re a single author or a collaborative group, this tool standardises data so your cookbook lays out cleanly. Define your fields, invite contributors (if needed), save progress, and download a CSV (a simple spreadsheet file) with your recipes in consistent columns. Designers can place this file directly into page layout.
How the Recipe Designer Works
Choose the recipe headings you want to include (e.g., title, author, ingredients, method, prep time, dietary tags). Save your form for yourself or share it with contributors. When you’re ready, download a CSV file—it’s a rows-and-columns spreadsheet that keeps every recipe in the same order, making layout fast and accurate. The CSV file can be sorted into alphabetical order once all of the recipes have been added.
Layout Template Options for Fast, Polished Layouts
Use a Pre-Designed InDesign Layout Template
Browse ready-made cookbook layout templates on GraphicRiver. InDesign gives the smoothest CSV merge and style control. Most layout templates accept our exported data.
Request a Custom InDesign Layout Template
Want a unique look? We can create a bespoke InDesign layout template with your fonts, colours and grid for consistent dividers, recipes and indexes. To keep costs down, use free fonts. Popular sources: Font Meme, MyFonts, DaFont, 1001 Free Fonts, FontSpace.
DIY InDesign Setup
Comfortable with InDesign? Build master pages, paragraph/character styles and tables, then populate with your CSV exports.
High-Quality Recipe Images
If your layout features imagery and you need photos, consider stock libraries (e.g., Shutterstock). If we handle your merge, we can purchase and place images during layout.
Image requirements (mandatory):
- High-resolution only: Supply images at 200–300 dpi at final print size (no upscaling).
- Do not crop if possible: Provide the full, original image. If cropping is unavoidable, we’ll handle it at the design stage.
- Match the orientation: Ensure each photo matches the portrait or landscape orientation of the layout template it’s intended for (no rotating, stretching, or squeezing).
Step-by-Step: From Form to Finished Layout
Step 1 — Set Up Your Section Fields
What is a “section”? Examples: Starters, Entrées, Mains, Desserts or an Image placeholder.
Create the fields you need (recipe title, contributor, ingredients, method steps, serves, time, dietary tags, image placeholder). Save and download your section fields, then either keep them private (solo) or share the file and the design-form link (group). Not sure which fields to include? See our Suggested Section Fields. Tip: name your saved section fields clearly, e.g., Entrees.json.
Do not change the field list. Contributors must not add, remove, or rename fields. If a recipe genuinely requires different fields, those recipes must use a separate layout template. If you require simple subheadings, they can be styled at the design stage—during data entry, flag a subheading by starting the line with an asterisk in the tool.
Data entry example (with asterisks):
(Field) Ingredients
*For Stock
500 ml low-salt chicken stock
1 red onion
Garlic (to taste)
1 jar green peppercorns
*Main Ingredients
1 kg chicken breast
200 ml thickened cream
Designed version (no numbers/bullets):
(Field) Ingredients
For Stock
500 ml low-salt chicken stock
1 red onion
Garlic (to taste)
1 jar green peppercorns
Main Ingredients
1 kg chicken breast
200 ml thickened cream
Step 2 — Create Your Recipe Page Layout (skip if you already have a layout template)
Using the grid, drag and position each of the recipe fields in place. Reorder rows or move fields anytime. You can return to Step 1 to adjust fields if required. Want variety within a section? Create multiple layout templates ( e.g., Mains-Template-1, Mains-Template-2 ) and assign recipes accordingly. Once created, export the layout to JPEG or PDF and name your template accordingly. e.g., Mains-Template-1, Mains-Template-2.Share these files with your designer as the guide for building the InDesign layout template. Note: This is an outline; final field sizes may change with content.
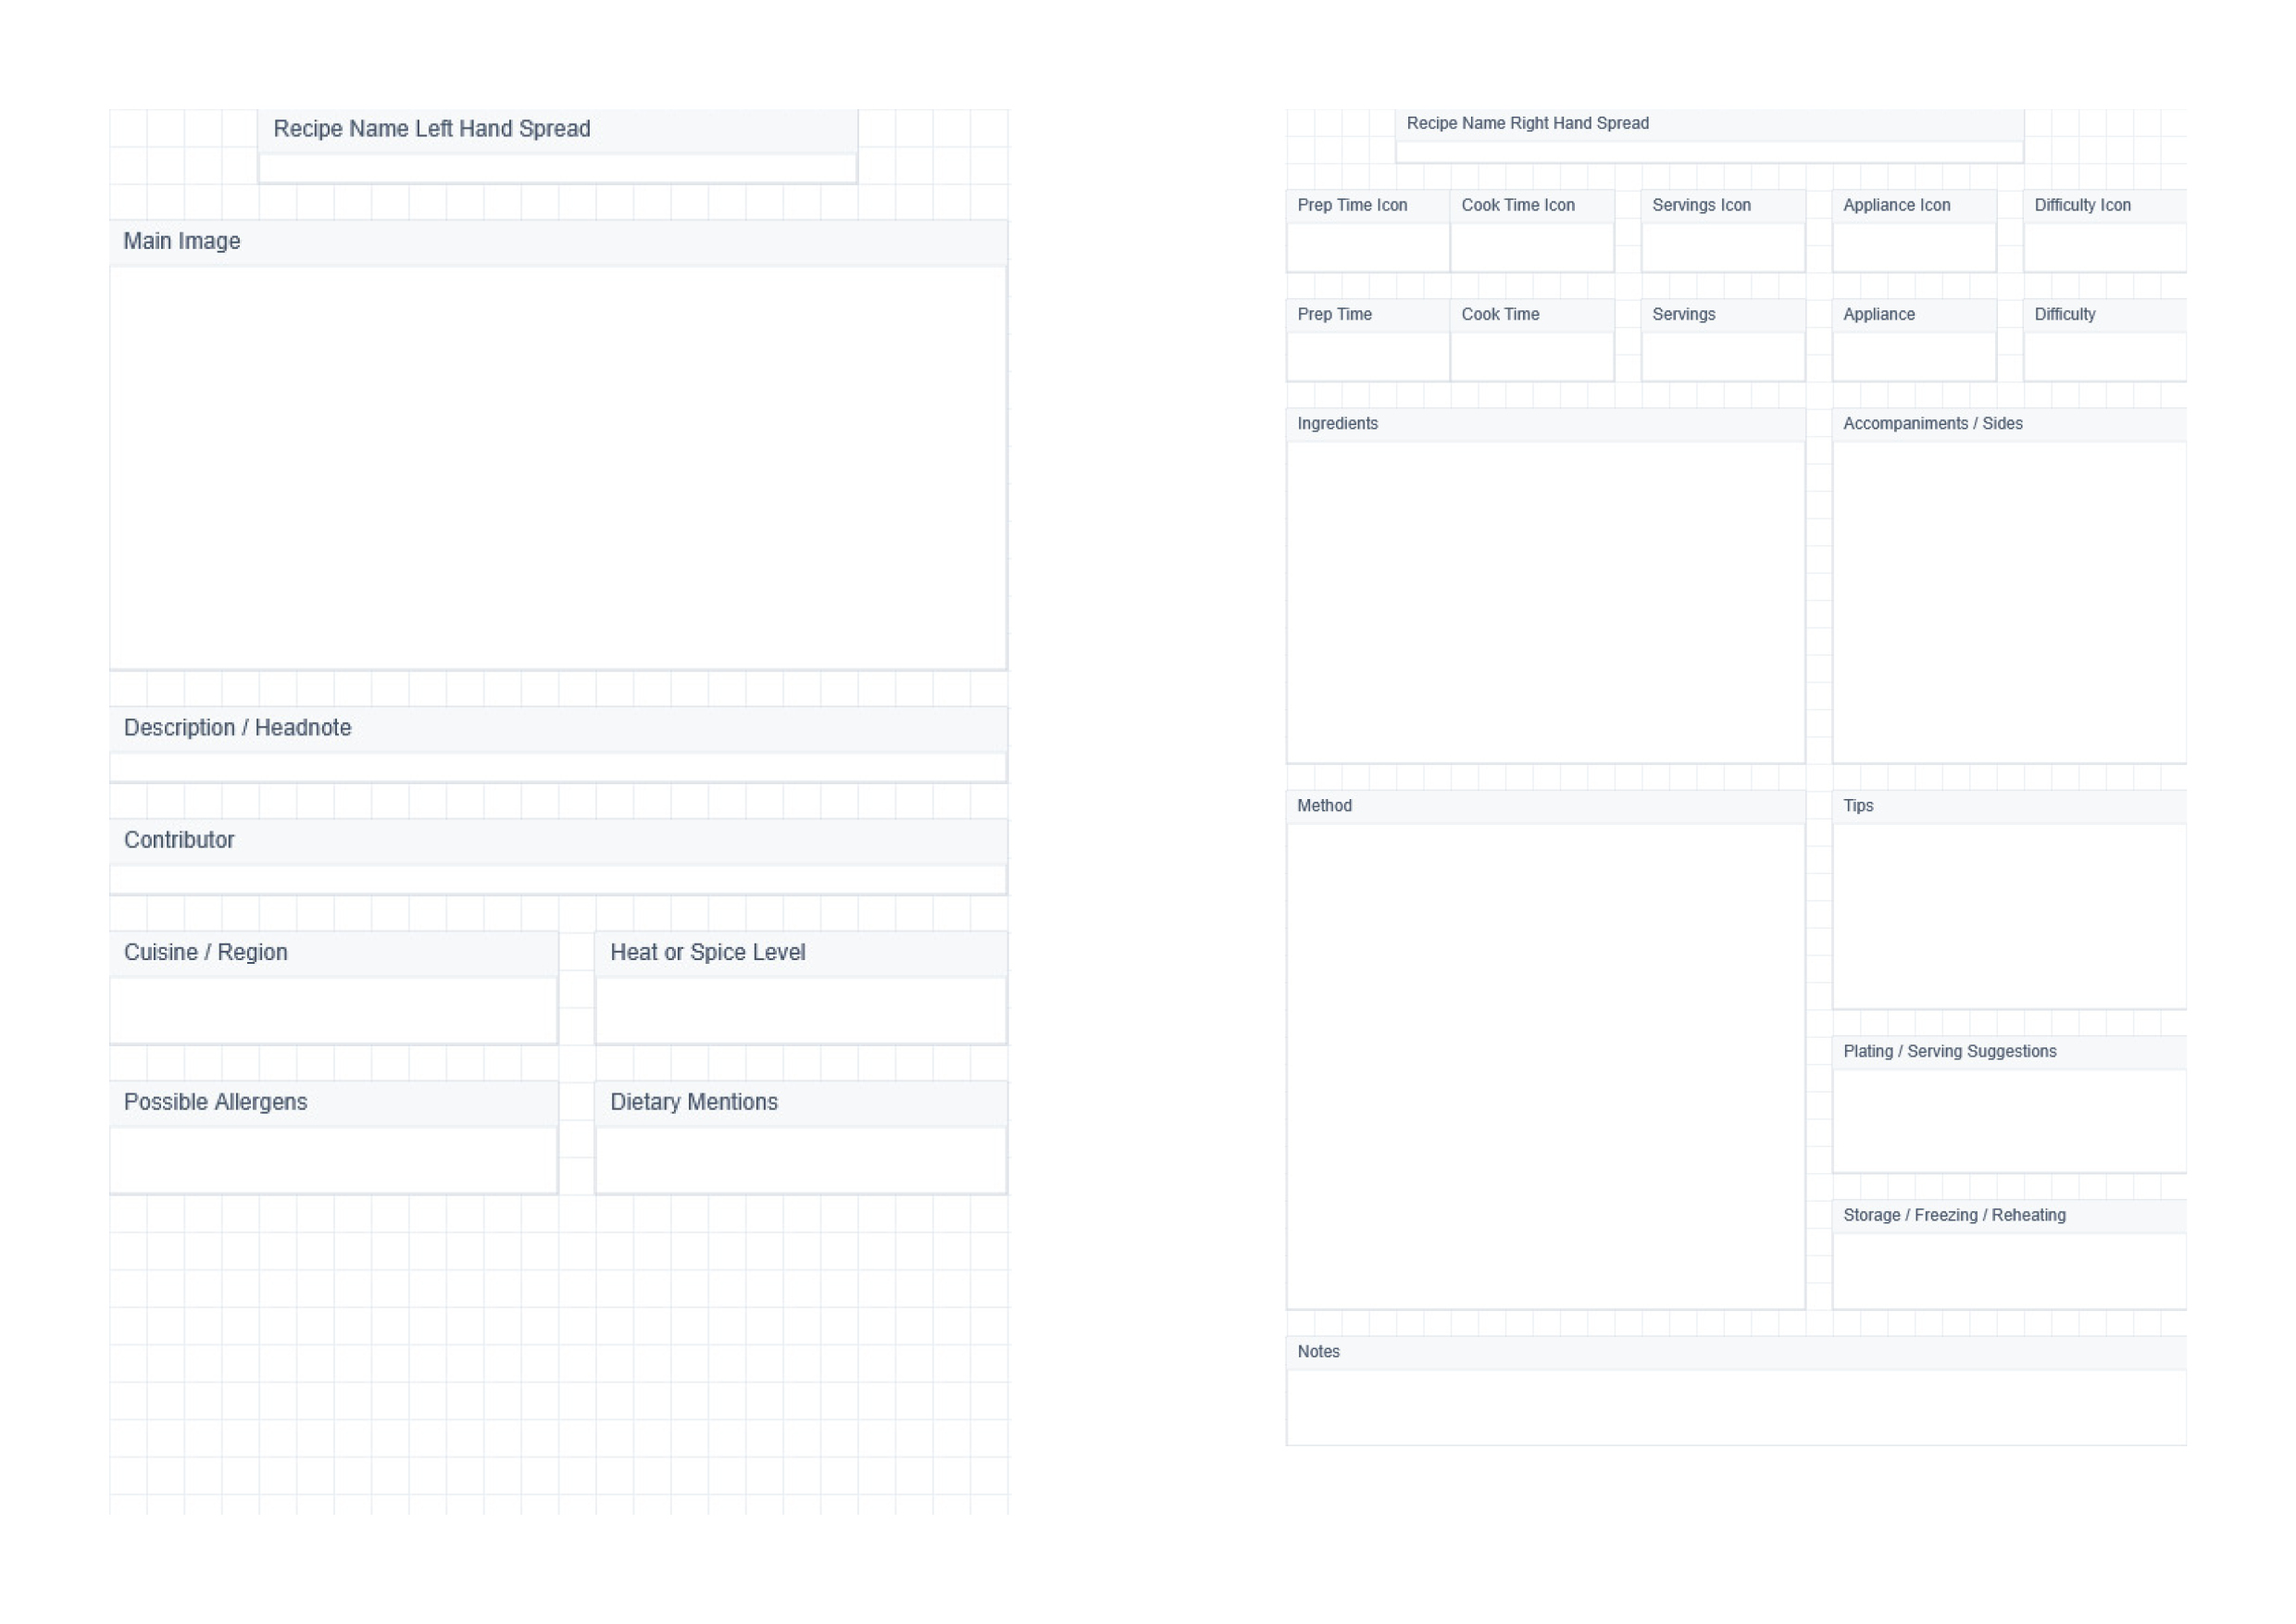
Below is an example of basic fields placed in a grid.
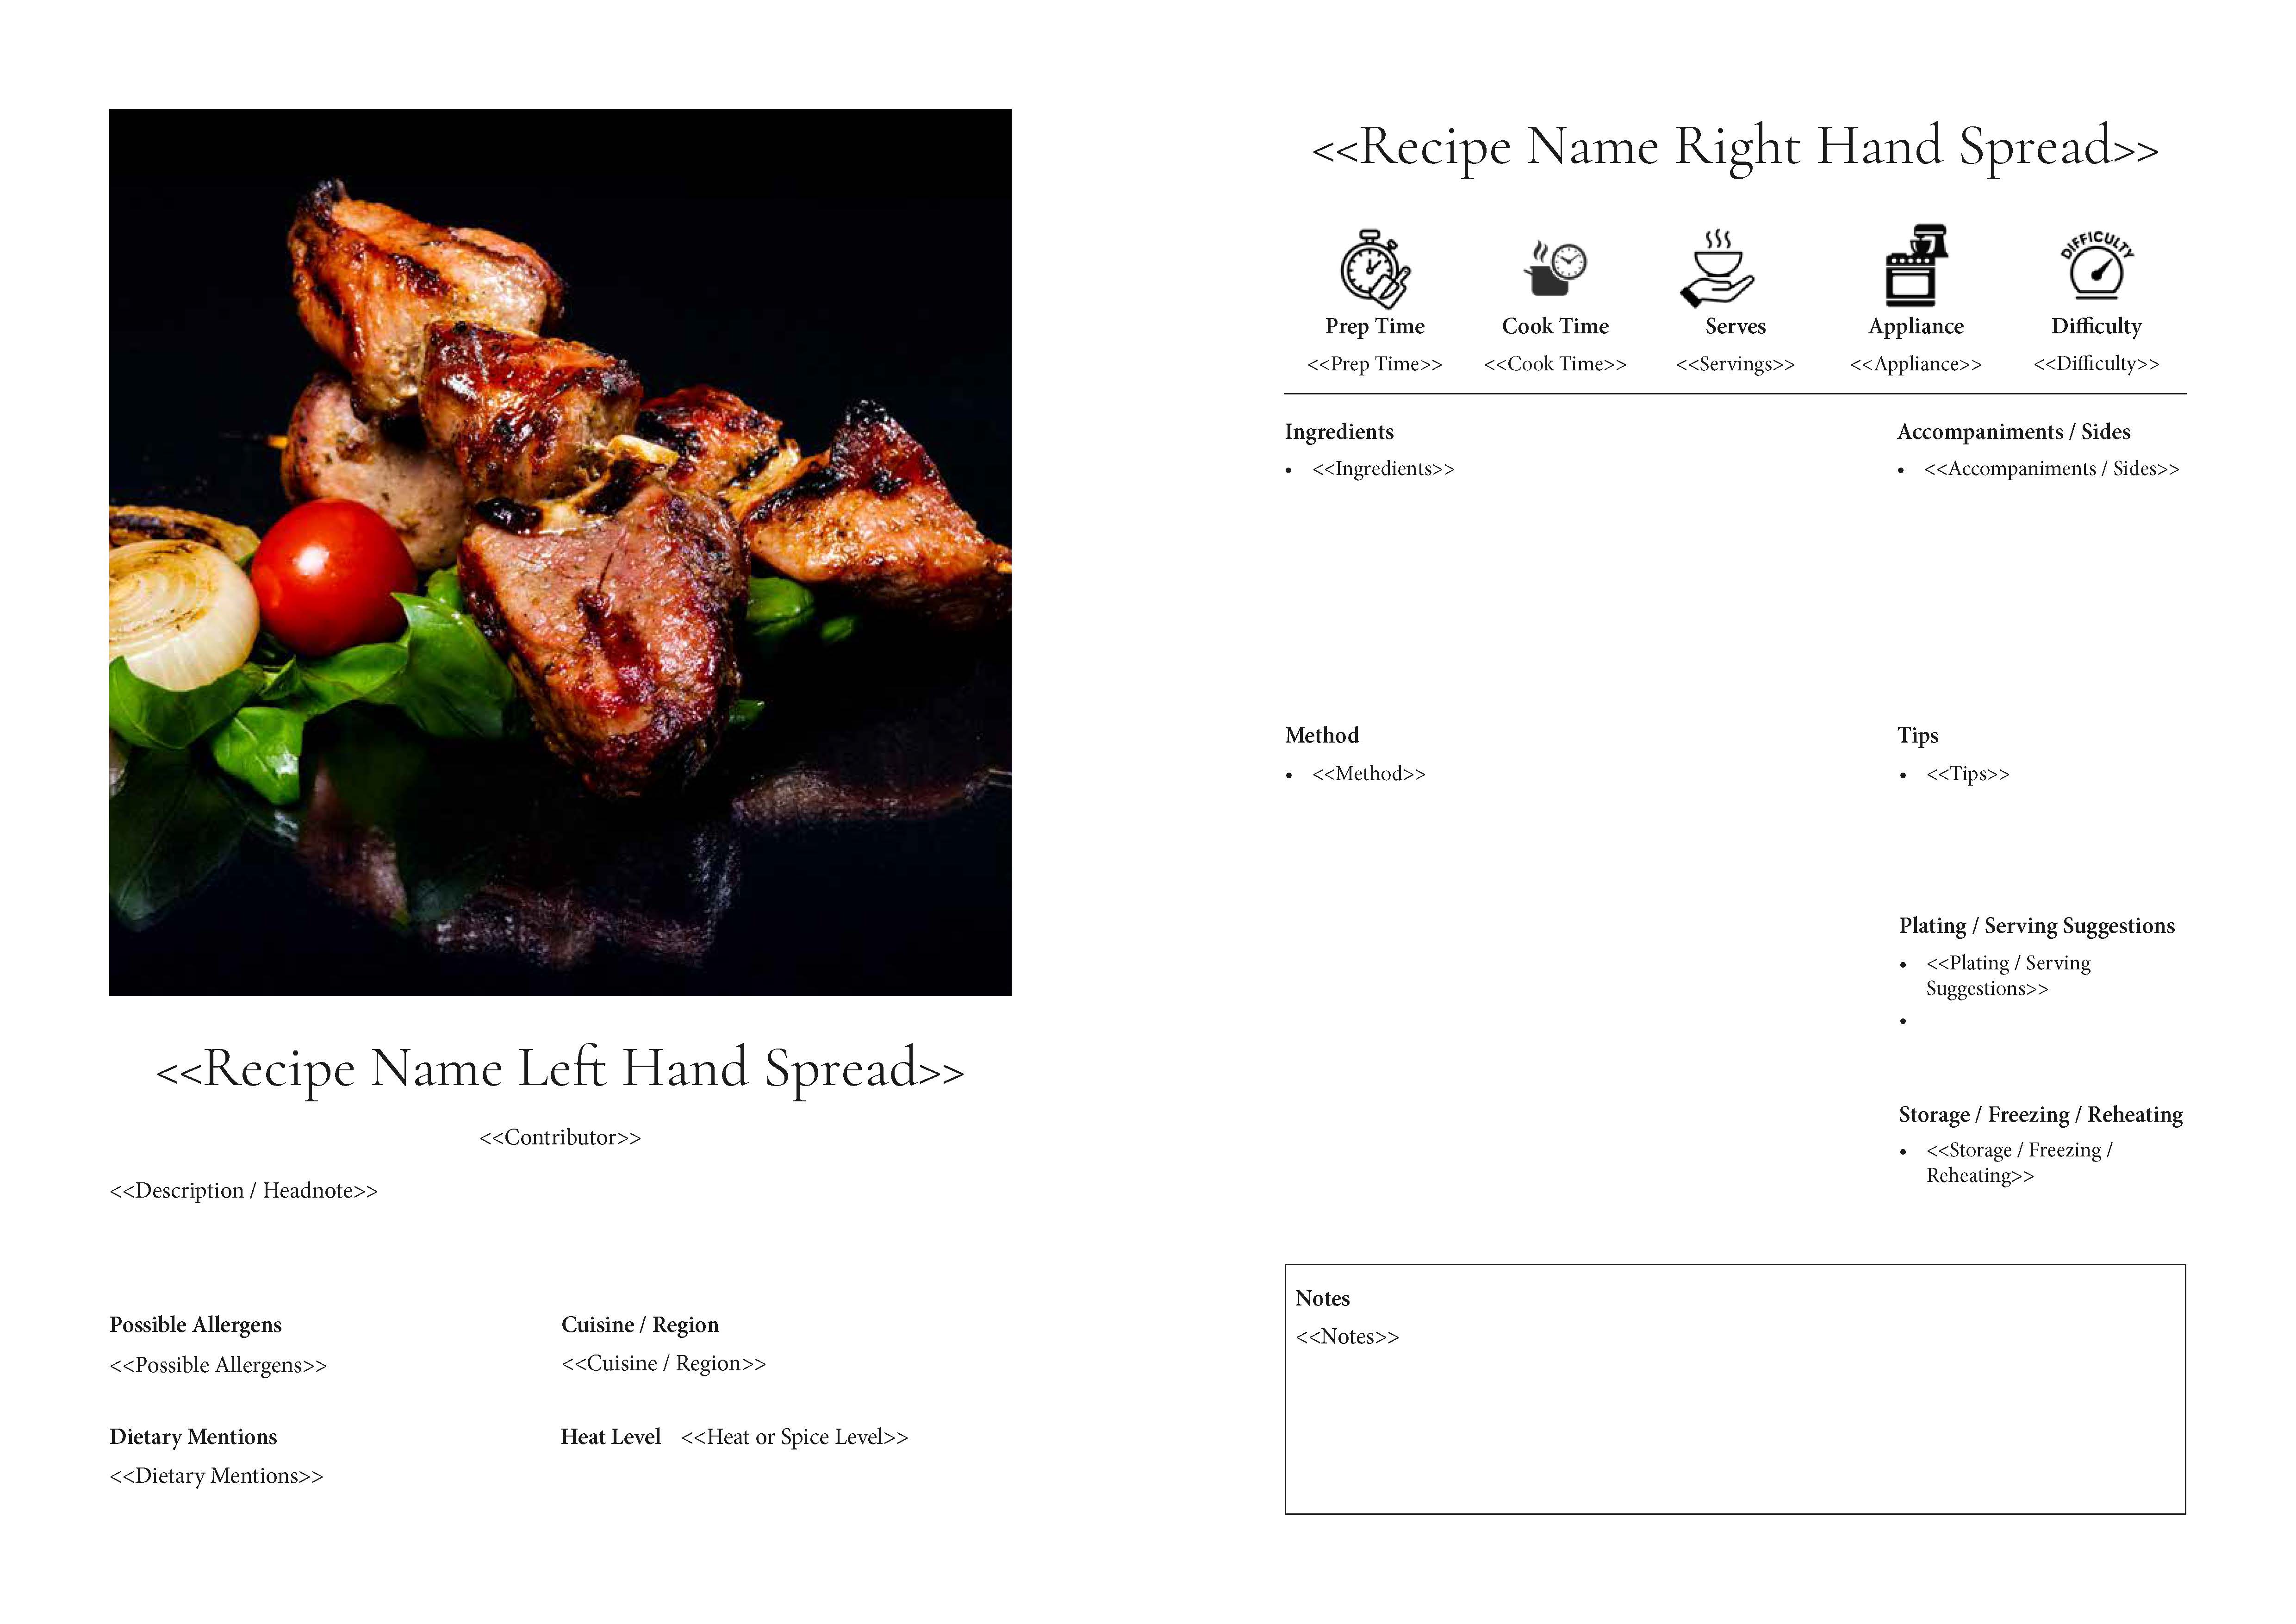
Below are the same fields placed in InDesign.
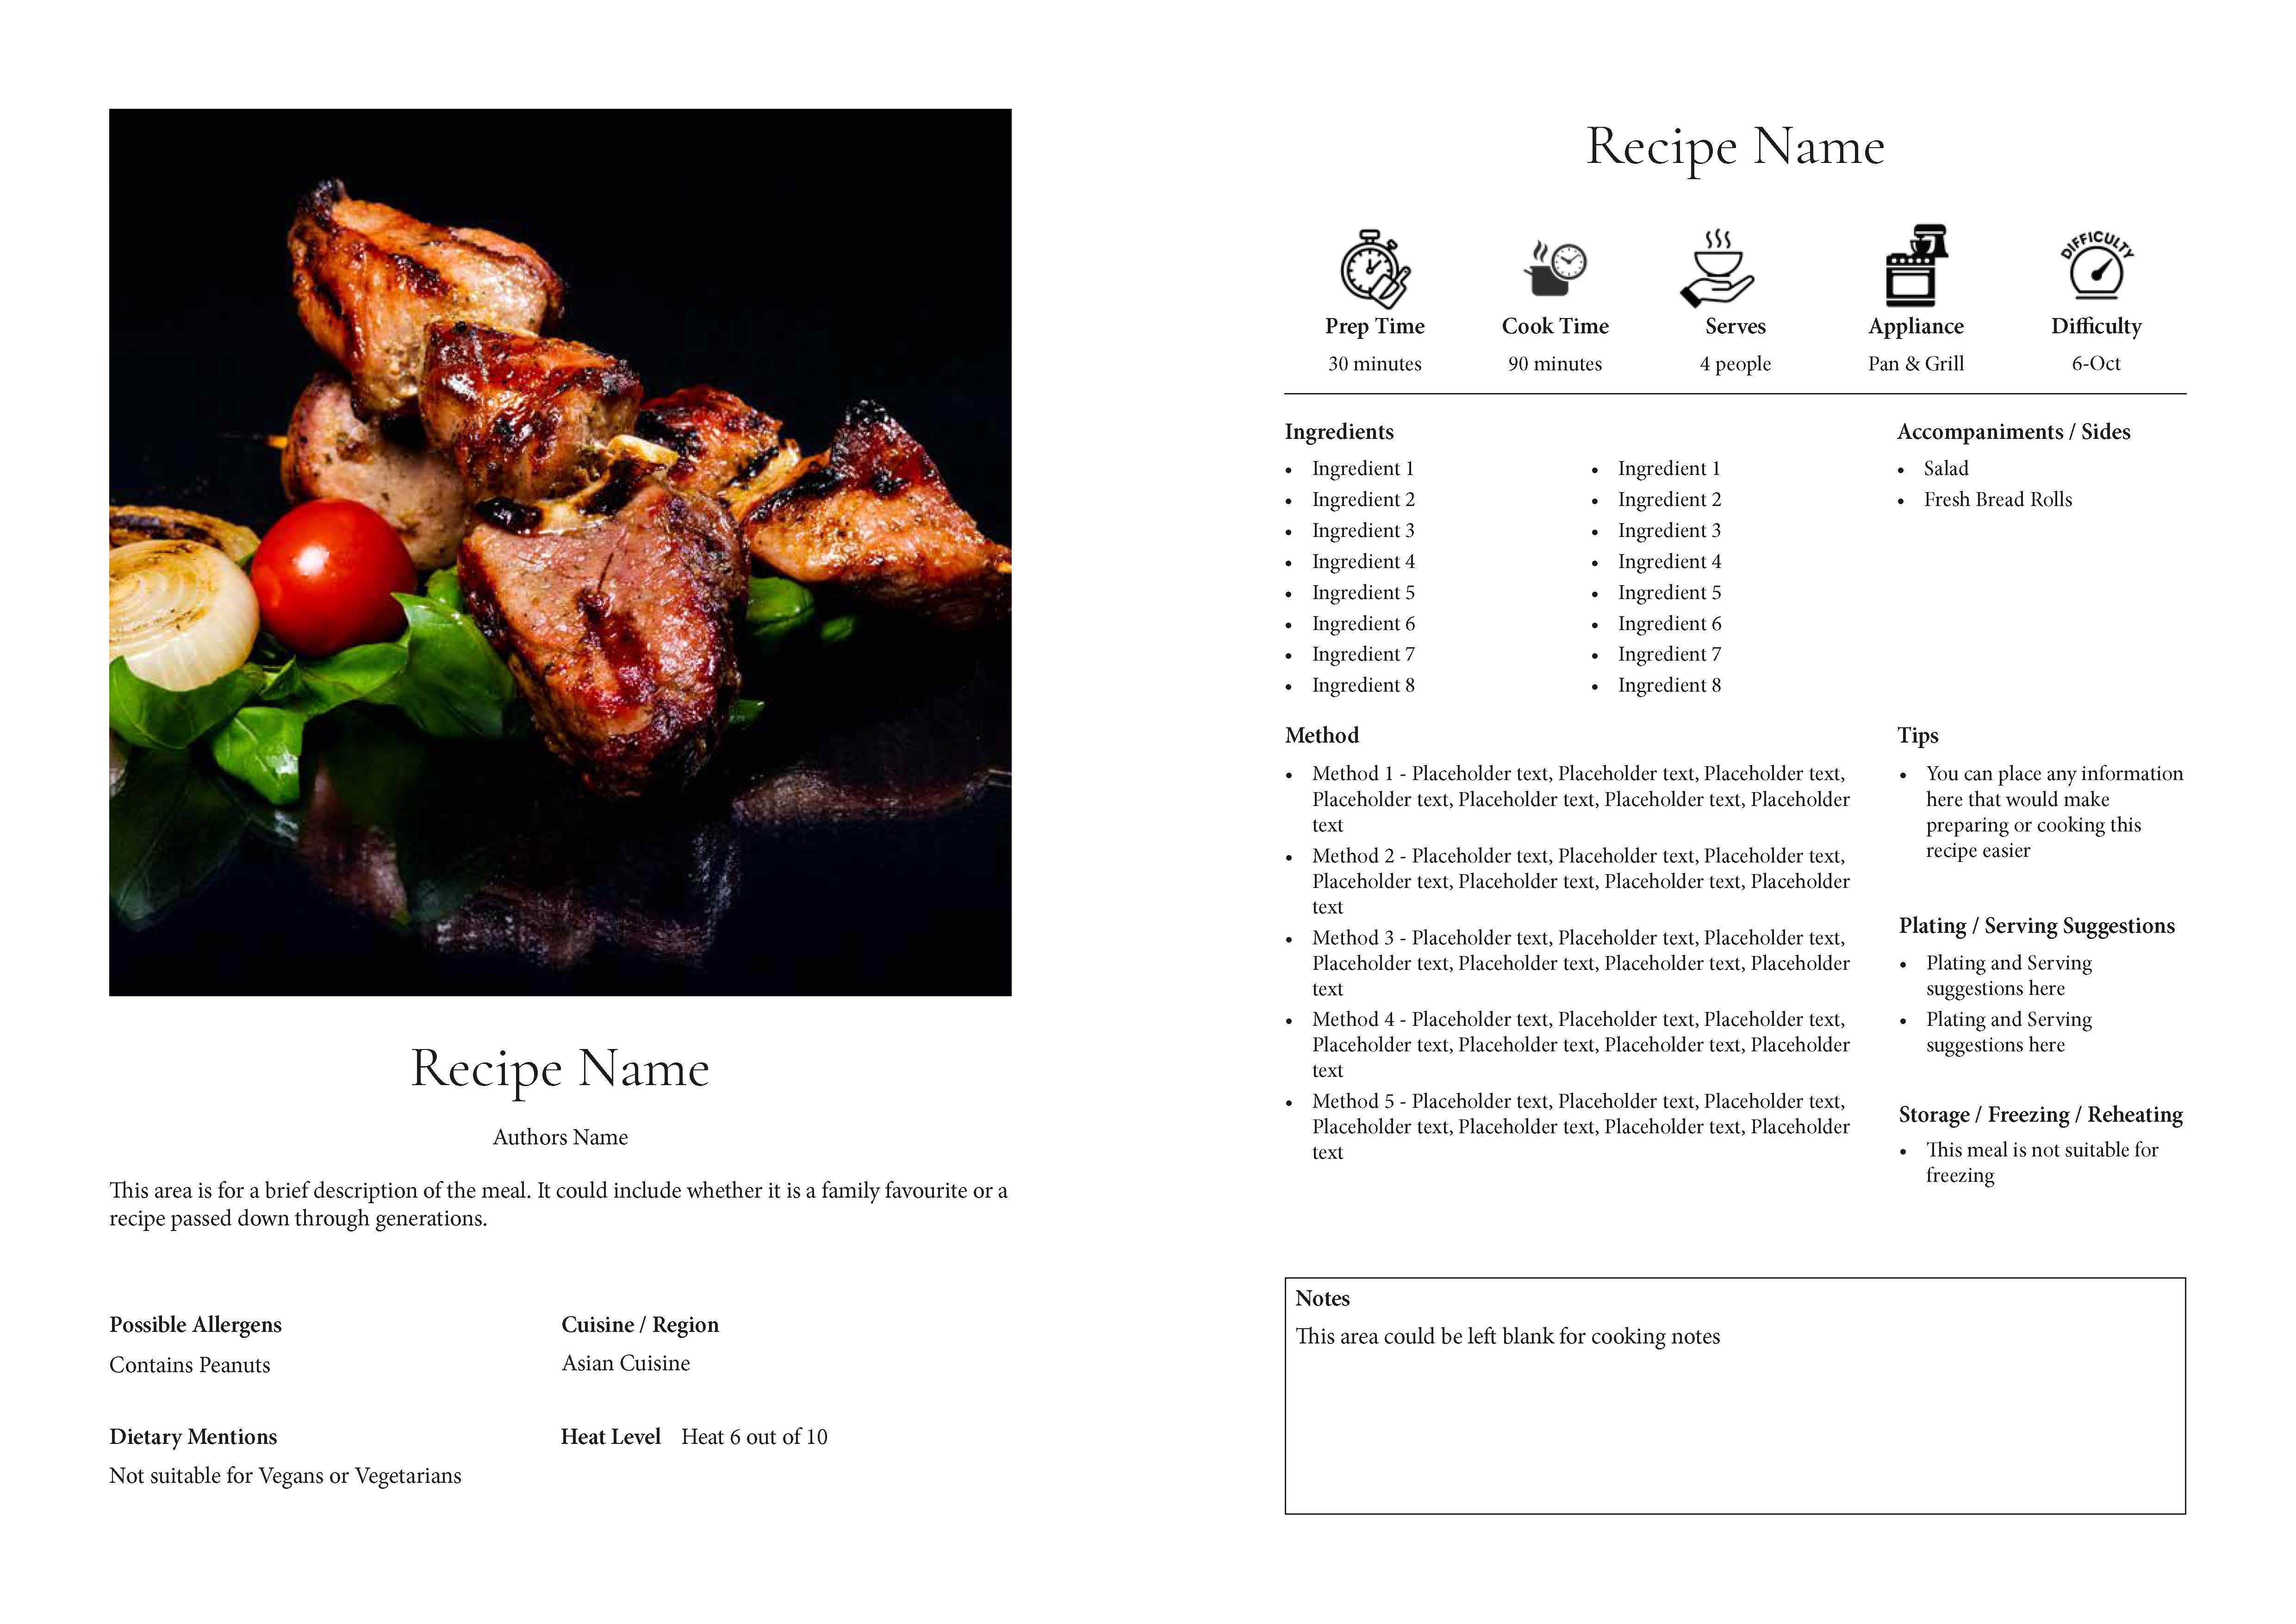
Below is the merged file with sample text included.
Step 3 — Enter Recipes (Solo) or Share to Collect Recipes (Group)
Solo: Enter your recipes directly.
Group: Each contributor uploads the shared form file (e.g., Entrees.json). Do not change or add field names.
Formatting rules (mandatory):
- Text only. Do not enter emojis or special symbols anywhere in the fields.
- Keep the hash characters (
#) in the CSV. Some CSV headers and values include#markers used by the merge—do not delete or edit them. - File naming on export is mandatory:
- Include the section name in the filename.
- If using an alternative layout template, include the template variant in the filename.
- Use clear, consistent patterns such as:
Entrees_Template-1.csvEntrees_Template-2.csvMains_Standard.csvDesserts_Image-Heavy.csv
Contributors can save progress by downloading their updated file (e.g., Entrees.json) and re-uploading later. When finished, each contributor exports an individual .csv.
CSV requirements for alternative layout templates:
- Every exported CSV must identify the intended layout template for each recipe.
- Choose one approach (do not mix):
- A. Separate master files per layout template (preferred): Combine contributor CSVs into one master CSV per section per layout template (e.g.,
Mains_Template-1.csv,Mains_Template-2.csv). - B. Single master with a template column: Combine all recipes for the section into one master CSV and include a required
LayoutTemplatecolumn (values likeTemplate-1,Template-2). Do not remove or rename this column.
- A. Separate master files per layout template (preferred): Combine contributor CSVs into one master CSV per section per layout template (e.g.,
- Keep the hash characters (
#) in the CSV. Do not delete or edit them. - Mandatory file naming: Include the section and the layout template in the filename. Multi-author files should append a short contributor ID.
Entrees_Template-1.csvEntrees_Template-2.csvMains_Template-2_J.Smith.csv
After combining (using Approach A or B), review the order and finalise the section files for the InDesign merge.
Step 4 — Create Divider Pages & Front Matter
Provide these as a simple Word doc (preferred), via the online tool, or as CSV/text for consistency. Typical files: Introduction, Acknowledgements, Section dividers (Starters, Mains, Desserts), and Index. No formatting required—styling is applied at design.
Step 5 — Merge into Your InDesign Layout Template
Import your section CSVs, map fields to styles, and flow the content. Prefer a done-for-you service? Our team can complete or fine-tune the merge (pricing depends on recipe/image count).
File-Supply Tips for Print-Ready Cookbooks
- Export single-page PDFs (not spreads) at final trim with fonts embedded.
- Add 3 mm bleed to pages with full-bleed photos or colour backgrounds.
- Keep vital text inside safe margins; set consistent paragraph styles for ingredients and method steps.
- Use high-resolution images and keep colour handling consistent across sections.
Ready to Print? Get an Instant Quote
When your cookbook is laid out, get a live price with our calculators:
- Wire / Coil / Comb Bound — great for lay-flat recipe books.
- Premium Soft Cover (Perfect/PUR) — classic cookbook paperbacks.
- Hard Cover / Case Bound — premium, gift-ready editions.
- Saddle-Stitched Booklets — concise community cookbooks.
- Unbound Proof — check pagination, images and trims before production.
FAQs
Can I collaborate online?
Yes. Share the saved form so contributors can add recipes and export their own CSVs. Solo creators can keep the form private.
Can you complete the CSV merge for us?
Yes. We can merge into your chosen InDesign layout template. Pricing depends on recipe/image counts.
What quantities can we order?
Order exactly what you need — there is no minimum order quantity, with dependable Australia-wide delivery.
